Monday, April 27, 2015

Papad Canopies with Rajma Salsa

Around sometime back there was an online contest conducted by Snackosaur for preparing a two minute healthy snack with any or all of the ingredients mentioned by them.I chose both peanuts and Boiled Rajma and made two snacks.One of them which i named "papad canopies with rajma salsa" was chosen as a winner.The moment i got to know about it it made my heart skip a beat.I was literally thrilled as for once i never expected to win and had literally forgotten about it.The idea of preparing this snack came to my mind all of a sudden.And i just ran to my kitchen and made it.As this was for a contest i won't be able to put up step by step pictures as i didn't click any.But the recipe is so simple i am sure you won't be needing one.Well honestly i wouldn't say it's equally delicious like any other calorie filled snacks that you get.But if you are on a diet and you want a snack which has a balance between tasty and healthy then this is definitely the one.It's like best of both worlds.


Ingredients serves-12 canopies
  • 1/2 cup boiled Rajma
  • 12 small discs of papad roasted on tawa
  • 2 1/2 tbsp of finely chopped pickled onion and capsicum finely chopped(pickled in lemon and salt for atleast 15-20 minutes)
  • 1/2 tsp of aamchur powder
  • 1/4th tsp of red chilly powder
  • 1/4th tsp of chopped green chilly
  • 1 1/2 tbsp of chopped tomato and cucumber
  • 1 tbsp of sev
  • 1/4th tsp of chopped mint
  • salt to taste.
Method
  1. Take a mixing bowl and add all the listed ingredients above (apart from the papad discs)
  2. Place the papads on a serving tray and place little of the mixture on each discs.
  3. Top it with a sprinkle of sev and a small mint sprig.
  4. Your healthy yet yummy Papad Canopies with Rajma Salsa is ready.Grab a papad disc and Eat it up!:)

Tips:-
  1. While cutting the papads into small discs use a circular cookie cutter or something round which has sharp edges.If you find any difficulty in cutting the shapes then pat the papads with a little bit of water.
  2. After spooning the mixture into the papads don't keep it for too long.Else the papads will draw moisture and turn soggy.

Sunday, April 26, 2015

Mushroom cheese corn sandwich

At our place Sunday means a day to relax and spend less time in the kitchen.Hence made a super yummy breakfast which is easy and does not take a lot of time.I love the combination of mushroom and corn.This sandwich is rustic and full of flavors.


Ingredients serves-4 pieces

  • 4 slices of sandwich bread(white/brown/multi-grain)
  • 2 heap cups of button mushroom thinly sliced
  • 1/4th heap cup of sweet corn
  • 1 cup of grated cheese of your choice
  • 1 medium sized onion thinly sliced
  • 4-5 cloves of garlic chopped
  • 1 tsp of pepper powder
  • 1/2-1 tsp of dry oregano
  • 1/2 tsp of chilly flakes
  • 2 tbsp of butter for sauteing the mushrooms
  • 1 tsp olive oil/vegetable oil
  • butter as required(for applying on the bread)
  • chopped coriander (as required)
  • salt to taste
Method

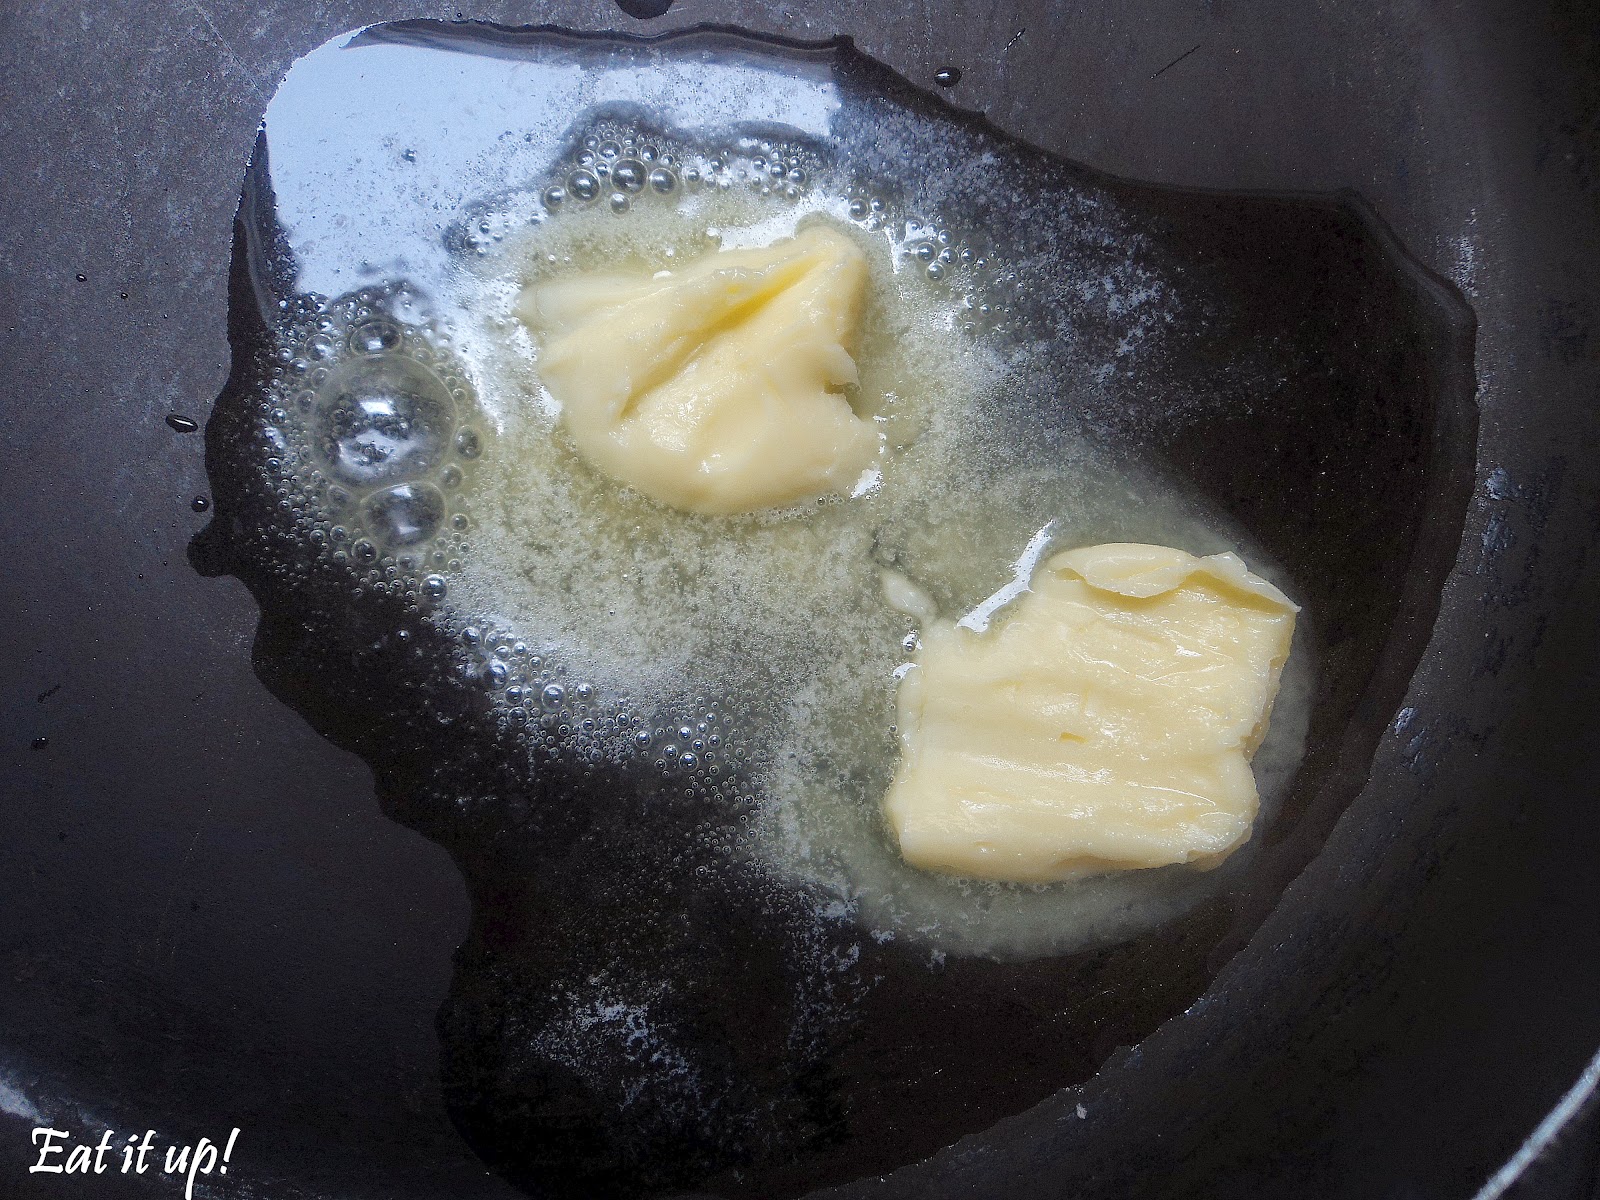
  1. Heat oil and butter(2 tbsp) in a pan (oil is added so that the butter does not burn).Once the butter melts add in the chopped garlic and sliced onions.

  2. Once the onions starts sweating add in the sliced mushrooms and turn the heat to medium. Saute the mushrooms for a minute cover it with a lid for a while.After some time the mushrooms will start to release moisture. and will reduce in size.The mushrooms as they get cooked have the tendency to change it's color to a darker shade of brown.
  3. When the mushrooms are almost done add in the sweet corn,pepper powder,oregano,chilly flakes and cook till the moisture released by the mushrooms evaporates completely.
  4. At the end add in some salt and some chopped coriander.Mix everything thoroughly for few seconds and take the mushroom and corn mixture off the heat.(keep the salt on the lesser side as the cheese even has salt to it)
  5. Take 2 slices of bread and apply butter on both the sides of the bread.
  6. Spread some cheese on one slice of the bread.Add some of the mushroom and corn topping and add some more cheese on top.
  7. Cover it with another slice of bread (buttered on both sides).Place the sandwich on a hot tawa and cook both sides till the cheese melts and the bread becomes crispy and golden brown.
  8. Your crispy and delicious mushroom cheese corn sandwich is ready.Cut the sandwich in half and Eat it up!:)

Friday, April 24, 2015

Eggless bread pudding

I don't remember telling this before but my maa likes her puddings and cakes with eggs.I somehow don't like the idea of including eggs in my desserts.It kind of creeps me out.Since 2 days she had been eating my head off to make some bread pudding.But with eggs off course!Lately,i  bumped onto this recipe of "eggless bread pudding" made by Niharika who owns a blog named "Truly madly deeply" which has some delicious recipes.By seeing those gorgeous clicks of her eggless bread pudding i had decided then that this is what i am going to be making next.When my maa heard i am going to make an eggless bread pudding she made a face and said "i need eggs in my pudding" just like a cute fussy toddler would say.But i somehow talked her into it and she agreed.To my surprise she loved the texture and taste of this bread pudding and ate almost all of it by her own.She didn't even miss her beloved eggs in the pudding.Mission accomplished!


Ingredients

  • 5-6 slices of any type of bread
  • 2 cups of milk
  • 4 tbsp of granulated sugar for the pudding + 2 tbsp for the caramel
  • 1 tsp of vanilla essence or as per your taste
  • 2 tsp of cornflour/corn starch
  • And a whole lot of patience
Method
  1. Cut the bread slices into small cubes including the brown edges.
  2. Add the corn starch and sugar into the milk and put it on a low flame.Stir till the sugar dissolves.
  3. Once that done take it off the heat and add in the bread cubes and vanilla essence.
  4. Mash the bread cubes with the back of the spoon.There should be no chunky pieces of the bread left into the mixture.Make sure the brown edges of the bread gets mixed well,too.
  5. Meanwhile,heat up the pressure cooker with 3 cups of water.I made this in a momo steamer.Hence i set my steamer with water to boil.This is very important step because by the time your caramel is done you would want your water in the cooker or steamer to be boiling.
  6. Now for the caramel you can either do it in a separate heavy bottomed pan or in the aluminium container in which you will be setting your pudding.Add the sugar into the container with 1-2 tbsp of water and put it on a low flame.Keep stirring it with a spoon to get an even color.Once the sugar turns amber it has a tendency to burn quickly and turn bitter.Hence keep an eye on it.Once caramelized  spread the caramel sugar into the container evenly.Swirl the liquid inside so that it coats the sides of the pan,too.
  7. Spoon in the bread mixture inside the tin.I covered the tin with clean film and poked a few holes on top.You can even cover it with aluminium foil.
  8. Place it inside the cooker or steamer.If you are using a cooker then make sure to remove the whistle and the gasket.In cooker it usually takes 20-25 minutes for the pudding to steam.But in a steamer it takes around 30-35  minutes.Once that done refrigerate the pudding(do not take it out of the tin) for at least 1-2 hours after it reaches the room temperature.Else while you cut into the pudding the pudding might not hold it's shape.
  9. Once it's chilled your bread pudding is ready to be served.Flip the pudding on to a plate,cut into slices and Eat it up! :)

Smoked chaas

Making chaas today was not on my list.Actually i didn't even think of making anything.But then i had promised a friend (rajeev) that i would be making chaas today after i saw his version of it.I had some coal with me.And suddenly like a lightening bolt it stuck me that i could make a smoked chaas.Hence went into the kitchen and made some delicious and simple chaas.The smoke of the coal gives this chaas a bit of depth and a beautiful flavor.Loved it!

Ingredients Serves-1 glass
  • 1 cup of yogurt
  • 1 1/4th cup of water
  • 1/2 tsp of roasted cumin powder
  • 1-2 green chilly finely chopped
  • 1/2 tsp of black salt
  • 1 tsp of sugar
  • 1/2-1 tsp of roasted cumin seeds
  • 1/2 tsp of carom seeds
  • 1/2 inch of ginger finely chopped
  • handful or coriander finely chopped
  • salt to taste
  • pinch of asafoetida 
  • 1 piece of coal
  • 1-2 tsp of ghee
Method
  1. Add the yogurt,water,cumin powder,sugar,black salt,green chilies,chopped coriander and salt in a bowl and mix everything thoroughly.(If you don't like the sudden heat of the chopped green chilies while sipping your chaas you can very well strain it,too)
  2. Take a piece of coal and heat in on stove top.Once hot add it in a small bowl.Quickly add in the carom seeds,cumin seeds,asafoetida and ginger.Pour clarified butter/ghee on the hot coal.Once the smoke comes out invert the container in which you are going to pour your chaas on top of it.It should be kept such that the smoke of the coal does not find any opening to escape.
  3. Keep it inverted till the smoke fills the glass.The other way of smoking is place the small bowl filled with the hot coal,carrom seeds,cumin seeds and ginger in the chass making sure that it floats on top and does not drown into it.Then cover the chaas with foil or a plate that ensures that the smoke remains inside.
  4. Serve the chaas into the glass.You can garnish it with some chopped coriander.Refrigerate it for a while or add ice cubes to it.Your chilled smoked chass is ready.So Sip it up! :)

Wednesday, April 22, 2015

Schezwan potato fingers

Just two days back i made a jar of Yummy Schezwan sauce.I had already finished 1/4th of the bottle in making Schezwan momo's.Before i could completly devour it i thought of making this simple and delicious Schezwan potato fingers.Oh yes!Too much Schezwan recipes cooking in my kitchen these days.hehe!But this Schezwan potato fingers is one of the delicious Indo-chinese recipes that could be easily replicated at home.The recipe that i am going to post shouldn't need to be followed to "T".You can alter the quantities mentioned according to your needs easily.One thing that is missing in the whole process(in the pictures) is chilly flakes.Which i added at the end as it was not that spicy that i wanted it to be.As i said you can change anything as per you like.The taste of these Schezwan potato fingers gets a whole lot better with my homemade Schezwan sauce.


Ingredients


  • 3 large potatoes cut into the shape of french fries and par boiled
  • 2-3 tbsp of cournflour/corn starch
  • 1 tsp soya sauce for the potatoes fingers
  • salt to taste
  • oil for deep frying
  • 1/2 of 1 large onion thinly sliced
  • 1/2 of 1 medium sized capsicum cut into thin strips
  • 2 fat garlic cloves chopped
  • 2 tbsp of Schezwan sauce or as required
  • 1 tbsp of tomato sauce
  • 1 tbsp of soy sauce
  • 2 tbsp of vinegar
  • 2 tbsp of chopped spring onion
  • 1 tsp of chilly flakes or as required
  • 4 tbsp of water + 1/2 tsp of cornflour
  • salt to taste
  • 1 tsp of toasted sesame seeds
  • 2 tbsp oil for the gravy
Method

  1. I have mentioned that the potato pieces needs to be par boiled.It is nothing but potatoes boiled in boiling water till they are soft.We don't need to cook them completely.Hence par-boil them int the water.(Add a bit of salt in the water while boiling them).
  2. To the boiled potato pieces add in the corn starch (2tbsp),salt(not too much) and soy sauce(tsp).Give it a mix.Make sure you don't break the pieces.
  3. Heat oil in a vessel for deep frying.Once the oil is hot drop in the coated pieces of potato and fry them till they are golden brown.If the vessel in which you decide to fry is not big enough then fry the potato pieces in batches.Once fried keep them aside.
  4. Add oil in a wok or pan.Once the oil is hot add in the garlic.Saute till it slightly changes it's color.
  5. Once that done toss in the onions.And saute till it starts to sweat.
  6. Add in the capsicum and cook for another minute.
  7. Mix the the Schezwan sauce,tomato sauce,Soy sauce and vinegar.Add in the chilly flakes.Mix everything completely and cook for a minute or so.
  8. Sprinkle the chopped spring onions.Now mix corn starch with water and pour it in the gravy.This is done to thicken up the gravy and give it a perfect consistency.I have kept a very dry gravy.But If you don't want it that dry then increase the quantity of water and corn starch(if required).Add salt as per taste.Add in the fried potato fingers and Toss it gently without breaking them.Sprinkle toasted sesame seeds on top.
  9. Cook for few seconds and turn off the heat.Serve them instantly and Eat it up! :)

Tuesday, April 21, 2015

Virgin Mojito

Summers are perfect to try out all kinds of mocktails and quench you thirst.But at times those adding,mixing and dissolving can be a bit tedious.This Mojito recipe is not only simple but it's also quick and needs only handful of ingredients.Mojito which is pronounced as "mohito" is basically a cocktail which is made with soda and rum.But in case of a Virgin Mojito as the name suggests the alcohol is forbidden. I have used 7up here.But you can any-day substitute it with club soda,sprite,limca or any fizzy drink (though i didn't like the after taste of sprite).Even half of club soda and half of any fizzy drink works beautifully. If you use only club soda then remember to adjust the sugar quantity likewise.


Ingredients serves-1 glass


  • 200 ml of 7up
  • 1 tbsp of icing/powdered sugar
  • few mint leaves
  • 4 small pieces of lime or as required
  • Crushed ice
  • muddler
  • 1 tall glass

Method

  1. Take a tall glass (mojito is traditionally meant to be sipped from a tall glass) add in the lemon wedges,sugar,mint leaves.Take a muddler and muddle the lemon and mint with the sugar to release it's essential oils.Don't start pounding it.You just have to muddle it softly few times.Over muddling may result the lime to turn bitter.
  2. Add in the crushed ice.I added half the amount of the glass.If you want you can fill the glass entirely with it.
  3. Add in the 7up and just blend everything together gently.
  4. Your simple and easy Virgin Mojito is ready to Slurp it up! :)


Sunday, April 19, 2015

Schezwan Sauce Indo-Chinese Style

Now who does not like Indo-Chinese cuisine?I personally love everything that it offers.The fusion flavors of this cuisine is simply addictive.Though it's really hard to pick my favorites but a plateful of Schezwan potato wedges can make my day.Like literally! But i always buy the ready made Schezwan sauce that we get in the market.Until today it never struck me that i can even make it at home.The simplicity and the finger licking flavors of this home made sauce made me wonder why didn't i make this before.But it's better late than never,Isn't it?


Ingredients serves-1 cup

  • Paste of 25 dry kashmiri red chillies
  • 1 heap tbsp of grated garlic (around 10-12 fat cloves of garlic )
  • 1 tsp grated ginger
  • 1 tsp of soy sauce
  • 1-2 tsp of vinegar
  • 1 tsp of white sugar/brown sugar
  • 4 tbsp of tomato sauce
  • 4-5 tbsp of vegetable/sesame oil (i used vegetable oil)
Method
  1. Heat 2 cups of water in a pan on low flame and add in the dry red chilies and cover the pan.Cook till the chilies turn soft and the water completely dries up.Turn the chilies occasionally so that they get cooked evenly.Once cooled make a paste of the chilies. This.This process takes around 15-20 minutes.
  2. Heat a wok or a kadhai. Add.Add in the oil.
  3. Once the oil is hot Turn the flame to medium and toss in the garlic and ginger.Saute for a while to remove the rawness of the garlic.The garlic should not change it's color or turn brown.
  4. Add in the chilly paste and saute till the oil separates.
  5. If you feel it's too thick or dry add a bit of water at this stage.I added around 1/4th cup of water to dilute the sauce and to give it a perfect consistency.Cook till the chilies leave it's raw taste.
  6. Pour in the soy sauce,vinegar and tomato sauce.Give it a good mix.
  7. Add in sugar and salt to taste.Cook till the sauce attains a perfect consistency.Your delicious home made Schezwan sauce is ready.You can simply serve it for dipping sauce or use it for making Schezwan noodles,Schezwan rice or my favorite Schezwan potato wedges and Eat it up! :)
Tips:-
  1. It can be stored for 1-2 weeks in fridge if stored in an air-tight container.
  2. To increase it's shelf life increase the quantity of oil sufficiently.Oil acts as a preservative.The more oil you see floating on top of the sauce more is it's shelf life.I have used only 4-5 tbsp of oil as i had the intention of using up the sauce in a day.As i have mentioned if you want to store it longer add oil generously.
  3. Keeping the kids in mind i made this sauce with Kashmiri red chilies but to make it more spicier you can definitely mix the the hot dry red chilies with it or just entirely use the hot ones only.
  4. Do not skip the vinegar as it acts as a preservative.