Saturday, May 14, 2016

Bombay masala toast

This popular Mumbaiya snack is one delicious and easy to make sandwich packed with full of flavors.This sandwich is quick and easy to make with just handful of ingredients that you might have in your pantry right now.This recipe has been adapted from Ruchi bharwani's recipes (rajashree channel on youtube) with some of my tiny changes.Do check out her version as well.


Ingredients (makes 6 small sandwiches)

  • 3 medium sized potatoes boiled
  • 1 medium sliced onion
  • 1 small tomato finely chopped
  • 1/4th cup of capsicum finely chopped
  • 1 heaped tsp of ginger and green chilly paste
  • 5-6 fresh curry leaves
  • 1/2 tsp of mustard seeds
  • 1/4th-1/2 tsp of amchur powder
  • 1/4th tsp of pepper powder
  • 1/2 tsp of turmeric powder
  • coriander leaves chopped
  • salt and sugar as per taste
  • Mint coriander chutney as required
  • Bread slices
  • 1-2 tbsp of vegetable oil
  • Sliced onions,cucumbers and tomatoes (optional)
Method

  1. Heat oil in a pan.Once hot add mustard seeds.Once it starts crackling add curry leaves.
  2. Once the curry leaves splutter add in the sliced onions.
  3. Once the onions starts sweating add in the tomatoes,capsicum and the ginger-chilly paste.Saute well.
  4. Add in the mashed potato,turmeric powder,amchur powder,pepper powder.Mix everything well.At this stage if you like it spicy then add chopped green chilly as per your taste.
  5. Add salt and sugar to taste.Sprinkle coriander leaves and switch off the flame.
  6. Take 2 bread slices apply generous amount of coriander mint chutney.Spread the potato mixture on one of the bread slices and cover it with another bread slice.You can even add sliced onions,tomatoes and cucumbers on top of potato mixture to add more crunch and taste.
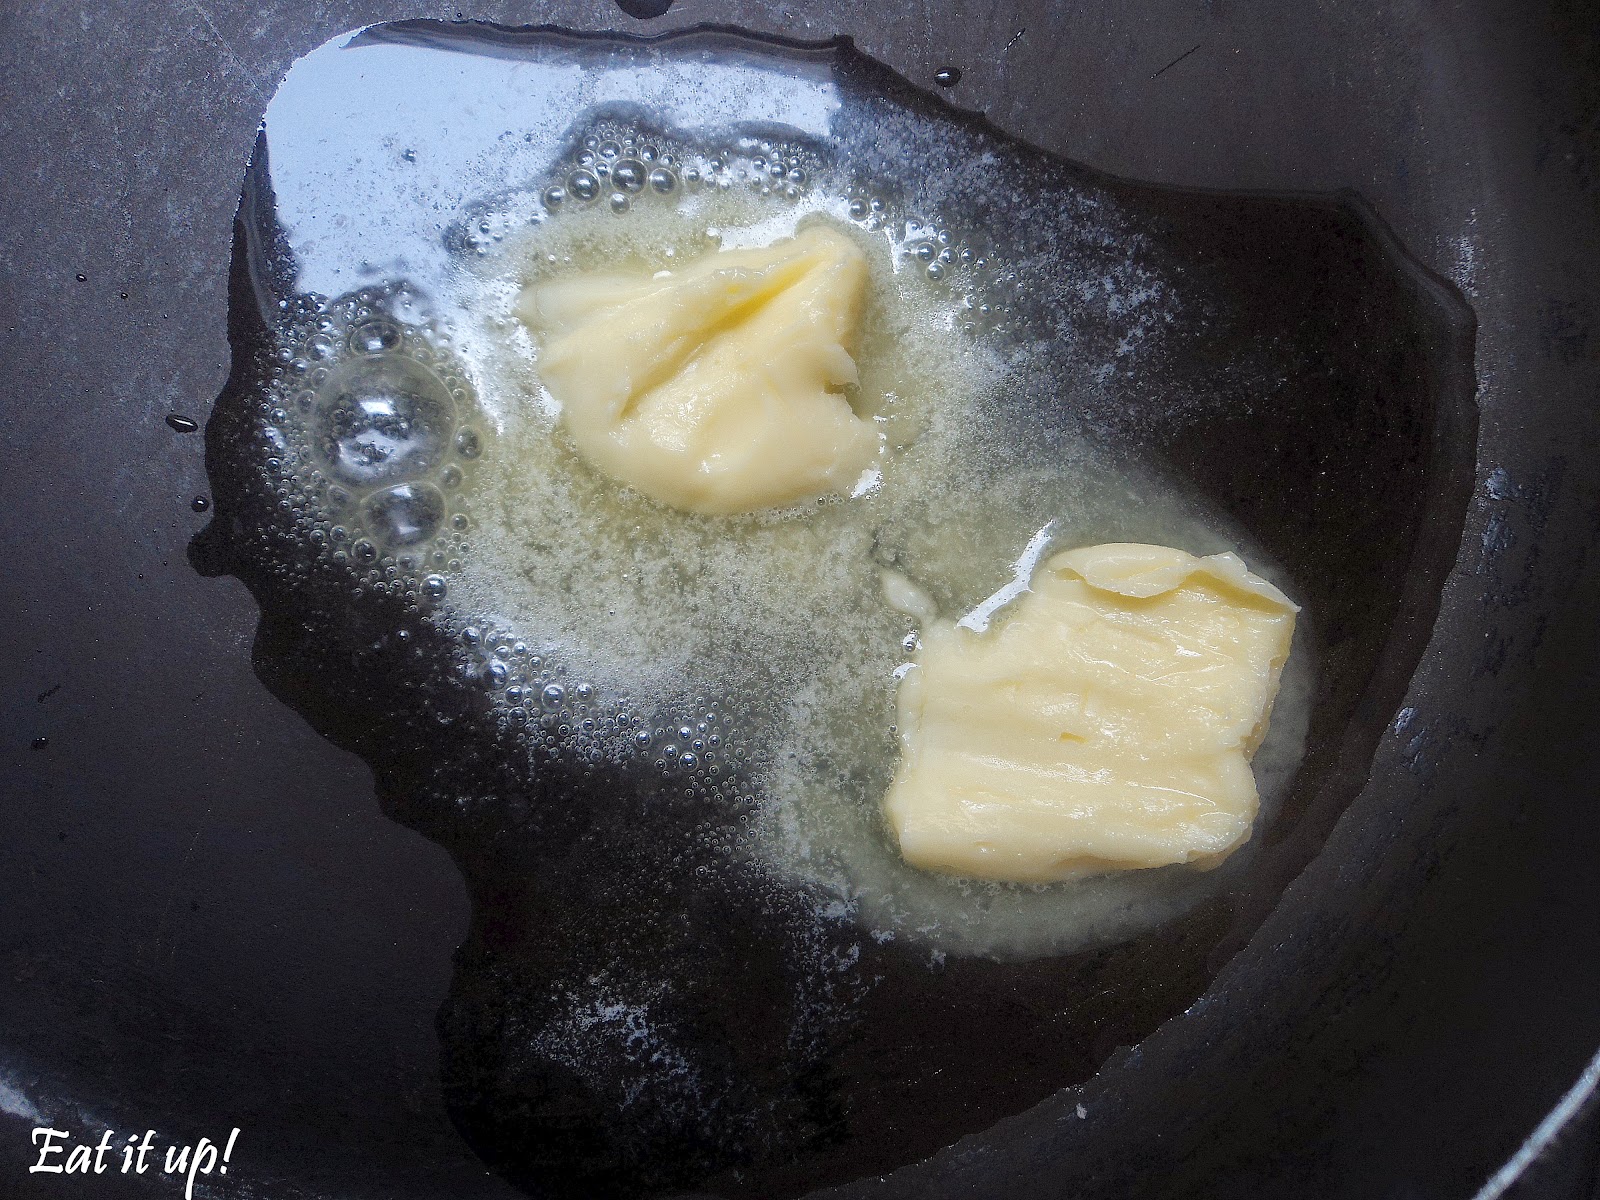
  7. On a non-stick pan place your sandwich and toast it on medium flame.If you want you can add butter or oil to toast them.Your chatpata Bombay masala toast is ready.Serve it as you like and Eat it up! :)

Friday, April 29, 2016

Orangy Float

Good things comes to those who are impatient.sounds familiar?No!You will be!Once you try this quick fix mocktail.Two minutes,three ingredients and an impatient you-that's all you need to make this drink.


Ingredients (makes two tall glasses)


  • 250 ml of  fanta or any orange fizzy drink
  • 4 scoops of vanilla icecream
  • handful of icecubes/crushed ice


Method
1.Take a glass and fill 1/4th of the glass with Fanta/orange fizzy drink.

2.Add ice cubes/crushed ice and 1 scoop of vanilla ice cream.

3.Fill the rest of the glass with Fanta.As you pour your carbonated orange drink on top of vanilla ice cream you shall witness the ice cream elevating to the top and forming a fizzy foamy mass.Top it up with another scoop of vanilla.Your easy Orangy Float is ready.Granish it with an orange wedge or a mint sprig and Drink it up! :)


Tip-there might be some of you who do not like the taste of fanta much.Don't worry i have got you covered up.Make a glass of orange drink out of a sachet of Rasna or Tang as per the instructions.Now take another glass add half of it with soda water(sparkling water) and half with the orange drink that you made.Tadaa!your fizzy orange drink is ready.So instead of Fanta use this drink and follow the rest of the method to make your very own Orangy Float.

Thursday, April 28, 2016

Dudhiya kebab

Reshmi kebab,chapli kebab,shami kebab,tunda kebab,chello kebab..yeh kebab woh kebab.......gosh!There are so many varieties of kebabs that you have heard and might have tasted.Mostly the kebabs are either a meat variety or has garlic or onion in it.But what if i told you that there is one such kebab which is not only vegetarian but it also does not contain any onion or galric. Surprised?Well,even i was kind of amazed to discover this recipe in one of the local you tube channels (hangla).I so wanted to try it right then.Without any further delay let me introduce you to this "jain kebab" known as Dudhiya kebab.Though i am unaware of why it is called "Dudhiya" but my guess would be mainly because the kebabs are mainly made with milk and milk products(If you know the real reason please share it with me).There are various ways to make it.So don't get confused if you stumble upon a different method of making this kebab.This kebab is not only hassle free to make but it's also delicious.


Ingredients (makes 6 portions)


  • 1 cup grated paneer/cottage cheese
  • 1/2 cup grated processed cheese
  • 1/2 cup grated khoya/mawa
  • 1 tsp red chilly powder
  • 1 tsp garam masala
  • 1/2 tsp aamchur powder
  • 1/2 -1 tsp of cardamom powder(i crushed one cardamom pod)
  • 1 tsp roasted cumin powder
  • 1/4th-1/2 tsp of sugar (as per taste)
  • 1 green chilly chopped or as you prefer
  • drop of kewra essence or rose water
  • milk as required
  • ghee for shallow frying the kebabs (oil can also be used but ghee is preferred)
  • salt to taste(be light on slat as the aamchur powder and the cheese already have salt in it)

Method
1.In a bowl add paneer.khoya and cheese.Mix it well.

2.Add all the masalas(red chilly powder,aamchur powder,cardamom powder,roasted cumin powder,sugar,salt),kewra essence and chopped chilly into the mixture.Give it another mix.Add a little portion of milk to bind everything.

3.Wet your palms and take medium portions of the mixture and shape it as you like.Refrigerate the kebabs for at least 15 minutes.So that they become a bit firm and does not break while you fry them.

4.Once they are firm pour ghee on tava and fry the kebabs on medium to low heat.(Do not over crowd the tava by adding all the kebab pieces at once.For each kebab i used around 1 tbsp of ghee.pour ghee occasionally on top of the kebabs while frying them).
5.Fry both the sides till golden brown.Once you are done frying all of them dish it out on a serving plate.Sprinkle some chaat masala on top.Add your favorite chutney/dip,few onion slices(if a non-jaini),lemon wedges and Eat it up! :)


Tip:-While frying the kebabs if your kebabs tend to break while flipping then lightly coat them with all purpose flour before frying(don't forget to remove the excess flour).
I served the kebabs with a quick home made yogurt and mayo dip(crush a garlic pod and a green chilly.Add half cup yogurt and 2 tbsp mayo.Mix it quickly.Add red chilly powder,sugar and salt to taste.Add chopped mint.Mix everything and your dip is ready)

Wednesday, April 27, 2016

The pink mist

Summer Cooler-4
The best thing about summer are the plethora of fruits that are you get in the markets.And i happen to love most of them.I am really biased when it comes to choosing my favorite fruit.Considering the summer theme i chose litchee or lychee to make this pretty drink.


Ingredients (makes 2 glasses)

  • 1 cup fresh litchi/lychee juice
  • 1 cup fresh tender coconut water
  • 2-4 tsp of cherry syrup or as required
Method
1.Take a chilled glass and pour half part of the glass with litchi juice and fill the rest with coconut water.
2.Add cherry syrup on top and stir.Add cherry syrup according to the sweetness of both the litchi juice and the coconut water.Add few ice cubes or frozen cherries and Drink it up! :)
grin emoticon
Note:-to make delicious cherry syrup at home take 1/2 cup of pitted chopped cherries,1/2 cup of icing sugar and 1/2 cup of water in a sauce pan.Stir and smash the cherries with the back of the wooden spoon.Once the liquid attains a syrupy consistency switch off the flame and let it cool.Once cooled strain it.Your cherry syrup is ready grin emoticon (don't make it too thick as once the syrup cools down it usually thickens further more)

Sunset by the beach

Summer Cooler 3-
As fancy as the name of this drink sounds to your surprise this drink is very easy to make.The key ingredient of this summer cooler is ripe papaya.Something that i am not very fond of.But trust me while experimenting with it i was very skeptical until i tasted the final product.It was actually very different and i loved it.it's said food(or drink) needs to be first appealing and then appetizing.This summer cooler is a perfect example.


Ingredients (makes 2 glasses)

  • 4-5 tsp of Grenadine syrup
  • 1 cup of papaya and mango puree (blend papaya and mango chopped into pieces with some water and make it into a thick puree.strain the puree to remove any chunks.the ration of papaya to mango should be 2:1)
  • 1 cup of fresh tender coconut water
Method
1.Fill a glass halfway with papaya and mango puree
2.Add in the grenadine syrup and stir
3.Fill the rest of the glass with coconut water.Add few ice cubes and serve immediately.Now all you got to do it Drink it up! :)

As this drink consists fresh coconut water it is suggested to be consumed instantly once its prepared.
kiki emoticon
Tip:-grenadine syrup can be made at home,too smile emoticon take a large pomegranate.Take out all the seeds (around 1 cup).add it in a saucepan with 1/2 cup of water.put it on simmer till it releases all its juices and the seeds become pale.if needed you can even use a masher to releases all the juices.once done switch off the flame.once cooled strain the liquid.Reheat the liquid(which would be around 1/2 cup) with 4 tsp of powdered sugar.Once it attains a syrupy consistency switch off the flame.Your homemade grenadine syrup is ready smile emoticon


Crimson Haze

Summer Cooler 2-
For my next summer cooler i have chosen black plum or 'kala jamun' as we usually call it.This drink is inspired by the famous kala khatta gola. Apart from the tangy taste i love the beautiful color gradation that takes place in the glass.


Ingredients (makes 2 glasses)

  • 1 cup of pitted black plum/jamun
  • 1 tbsp of water
  • 3 tsp of sugar or as required (don't add too much)
  • 1 cup of chilled 7up 
  • 1 cup of chilled sparkling water 
  • black salt as per taste
Method
1.In a saucepan add in the jamun,water and sugar.On a low flame stir the mixture till it releases all it's juices and becomes mushy.
2.Once cooled add it in a blender and blend it into a smooth semi thick liquid consistency.
3.strain the liquid with the help of a strainer.
4.Heat up the liquid again till it reduces in half and becomes a thick concentrate.Cool it down.
5.In a glass add in a tsp of the jamun/black plum concentrate and with the help of the back of the spoon slowly add in the 7up followed by sparkling water.(fill half of the glass with 7up and rest with sparkling water)
6.sprinkle a tiny pinch of black salt on top.Your crimson haze is ready to be served. Garnish it as you prefer and don't forget to stir before you Drink it up! :)

kiki emoticon garnish it as you prefer.Don't forget to stir before sipping 

Tropical Twilight

Summer cooler 1-

During my childhood,summer drinks were only constricted to a glass of Rasna filled with four ice cubes.Yes i was very particular about being served exactly four ice cubes with my orange Rasna for no reason.But times have changed.These days we have variety of coolers both homemade and store bought to quench our summer thirst.In this quest of thirst quenching even i have happen to experiment in my kitchen.And here i have come up with few refreshingly simple summer coolers that will cool down your system and your eyes this summer.

For my first summer drink i have named it as "Tropical Twilight".With tropical fruits and the color this drink is surely my summer favorite.

Ingredients
  • 1 cup of pineapple chunks
  • 3 tbsp of powdered sugar
  • 2 tbsp of water
  • 1 1/2 cup of water
  • 2 tbsp of ginger juice
  • 2-3 tsp of kokum/jungle plum concentrate/squash as required

Method
1.In a nonstick pan add the pineapple chunks,powdered sugar,water (2 tbsp).Caramelize the pineapple on medium heat.Once caramelized.Let it cool for a while.

2.Next add the caramelized pineapple and water (1 1/2 cup) in a blender and blend it thoroughly. Sieve the liquid with the help of a strainer.

3.Mix the ginger juice into the liquid.

4.In a glass pour 2-3 tsp or as required of kokum squash (the kokum squash is already very sweet hence did not add any extra sugar into the caramelized pineapple juice.But if you have a really sweet tooth you can add some.)

5.with the help of the back of the spoon add in the pineapple juice without disturbing the kokum squash below.Once done add in some ice cubes and garnish as you like and Drink it up! :)

smile emoticon

Monday, June 8, 2015

Chole/Chickpea Dum Biriyani

"When in doubt take the next small step".Have you ever heard this quote before?Well i could relate myself quite a lot with it.It has been sometime that i have kept myself away from blogging.Family,work and health are the main culprits for me not being able to update my blog.Sometimes little breaks are good for you i believe.They let you look at life from a whole new perspective.Before updating this post i really had to whack my brains out regarding what kind of recipe should i make.Well if you ask why such drama? i'll say i have a tiny reason for it.And the reason is...............**drum rolls** my blog has turned 50 recipes old.Yaye!With this update i shall complete writing 50 recipes on my blog which gives me immense happiness and satisfaction.
I know making a Biriyani for the completion of 50th recipe does not seem something grand or special.But keeping it simple sometimes is the key to happiness which i actually feel right now.This Chole Biriyani is a result of desperation of a home cook to cook something and the ingredients left in her pantry.It is a simple Biriyani made with a little patience and a lot of flavor.A veggie twist to the Biriyani.Though this dum Biriyani is not an authentic one where everything is cooked together on dum.But this cheats version of dum Biriyani is as delicious as the authentic one,too.To keep things less complicated i have divided the whole process into three parts like i did while making my Egg Dum Biriyani-Cooking the rice,Making the Chole gravy and assembling the Biriyani.

Cooking the rice

Ingredients
  • 200 grams of fine Basmati rice
  • Potli masala (6 peppercorns,3 cloves,1/2 tsp cumin,3 green cardamom pods,1 black cardamom,1 strand of mace,tiny piece of nutmeg,2 bay leaf.Everything wrapped in a muslin cloth)
  • Salt to taste
Method
  1. Wash and soak the Basmati rice for 30 minutes.Once done drain the excess water and add the rice in a vessel with sufficient water.Drop in the potli consisting the above said spices into the rice.Let it cook till it's 95% done.Mke sure you don't over cook the rice.Once done drain the excess water and keep it aside.
Making the Chole Gravy

Ingredients
  • 1 1/2 cup of overnight soaked and pressure cooked chickpeas or chole
  • Puree of 1 medium sized tomato and 1 green chilly
  • 2 medium sized onion finely chopped
  • 1 tsp of ginger garlic paste
  • 1 tsp cumin seeds
  • 1 1/2 tsp of coriander powder
  • 1/4th tsp of turmeric powder
  • 1/2 tsp of red chilly powder
  • 1 tsp of chole masala 
  • 2 tsp of yogurt
  • 1 tsp of Clarified butter/Ghee
  • 1 bay leaf
  • 1/2 tsp of garam masala powder
  • Handful of chopped coriander and mint leaves
  • 3 tbsp of oil (use the oil in which the onions are fried)
Method
  1. Heat up a kadhai and add oil in it.Once it's hot add in the cumin seeds and bay leaf.Let it crackle.
  2. Add in the ginger garlic paste and chopped onions.
  3. Once the onions turn slight brown pour in the tomato and chilly puree.Cook the gravy for a while.
  4. Sprinkle coriander powder,turmeric powder,red chilly powder and Chole masala powder.Add in the yogurt.Cook the spices properly without burning them.Pour some water if required.
  5. Toss in the boiled chickpeas and salt to taste.Mix it with the gravy.Cook for a minute.
  6. Pour 3/4th cup of water and cook the chickpeas covering the kadhai with a lid.
  7. Once the liquid dries out add in the ghee,garam masala powder and chopped mint and coriander leaves.Stir and switch off the flame.The Chickpea gravy is ready.
The final Assemble

Ingredients
  • 1 and half large onion thinly sliced and fried till crisp and golden
  • Cooked Basmati rice
  • Chickpea/Chole gravy
  • Yellow food color dissolved in milk or water
  • Clarified butter/Ghee as required
  • Chopped coriander and mint leaves
  • Wheat flour dough
  • 2-3 drops of rose water
  • 2 drops of kewra essence
Method
  1. Take a deep vessel.Add in a layer of Chickpea gravy and cover it with a layer of Basmati rice.Sprinkle some red food color mixed in water or milk randomly on top of the rice.Pour some clarified butter/ghee on top.Sprinkle some chopped mint and coriander leaves.Repeat this process again to make another layer.Pour in the rose water and kewra essence on top.
  2. Surround the edge of the vessel with the dough.Cover the vessel with a tight fitting lid.Make sure the dough tightly secures the lid and does not let any steam escape out of the vessel.
  3. Place the vessel on a low flame and cook it for 20-25 minutes or till the rice gets cooked.Once done rest it for 5 minutes before opening the lid.
  4. Your yummy Cole Biriyani is ready to be served.Serve it with some chilled cucumber raita,a bottle of chaas and Eat it up! :)
Tips:-
  1. At times while cooking the biriyani there remains slight chances of burning the biriyani.Hence take a pan and pour water into the pan.Place the vessel in the pan filled with water.It is more like a double boiler method where the biriyani does not get the direct heat of the flame.
  2. While boiling the chickpeas in a cooker make sure to add salt as per taste.

Monday, April 27, 2015

Papad Canopies with Rajma Salsa

Around sometime back there was an online contest conducted by Snackosaur for preparing a two minute healthy snack with any or all of the ingredients mentioned by them.I chose both peanuts and Boiled Rajma and made two snacks.One of them which i named "papad canopies with rajma salsa" was chosen as a winner.The moment i got to know about it it made my heart skip a beat.I was literally thrilled as for once i never expected to win and had literally forgotten about it.The idea of preparing this snack came to my mind all of a sudden.And i just ran to my kitchen and made it.As this was for a contest i won't be able to put up step by step pictures as i didn't click any.But the recipe is so simple i am sure you won't be needing one.Well honestly i wouldn't say it's equally delicious like any other calorie filled snacks that you get.But if you are on a diet and you want a snack which has a balance between tasty and healthy then this is definitely the one.It's like best of both worlds.


Ingredients serves-12 canopies
  • 1/2 cup boiled Rajma
  • 12 small discs of papad roasted on tawa
  • 2 1/2 tbsp of finely chopped pickled onion and capsicum finely chopped(pickled in lemon and salt for atleast 15-20 minutes)
  • 1/2 tsp of aamchur powder
  • 1/4th tsp of red chilly powder
  • 1/4th tsp of chopped green chilly
  • 1 1/2 tbsp of chopped tomato and cucumber
  • 1 tbsp of sev
  • 1/4th tsp of chopped mint
  • salt to taste.
Method
  1. Take a mixing bowl and add all the listed ingredients above (apart from the papad discs)
  2. Place the papads on a serving tray and place little of the mixture on each discs.
  3. Top it with a sprinkle of sev and a small mint sprig.
  4. Your healthy yet yummy Papad Canopies with Rajma Salsa is ready.Grab a papad disc and Eat it up!:)

Tips:-
  1. While cutting the papads into small discs use a circular cookie cutter or something round which has sharp edges.If you find any difficulty in cutting the shapes then pat the papads with a little bit of water.
  2. After spooning the mixture into the papads don't keep it for too long.Else the papads will draw moisture and turn soggy.

Sunday, April 26, 2015

Mushroom cheese corn sandwich

At our place Sunday means a day to relax and spend less time in the kitchen.Hence made a super yummy breakfast which is easy and does not take a lot of time.I love the combination of mushroom and corn.This sandwich is rustic and full of flavors.


Ingredients serves-4 pieces

  • 4 slices of sandwich bread(white/brown/multi-grain)
  • 2 heap cups of button mushroom thinly sliced
  • 1/4th heap cup of sweet corn
  • 1 cup of grated cheese of your choice
  • 1 medium sized onion thinly sliced
  • 4-5 cloves of garlic chopped
  • 1 tsp of pepper powder
  • 1/2-1 tsp of dry oregano
  • 1/2 tsp of chilly flakes
  • 2 tbsp of butter for sauteing the mushrooms
  • 1 tsp olive oil/vegetable oil
  • butter as required(for applying on the bread)
  • chopped coriander (as required)
  • salt to taste
Method

  1. Heat oil and butter(2 tbsp) in a pan (oil is added so that the butter does not burn).Once the butter melts add in the chopped garlic and sliced onions.

  2. Once the onions starts sweating add in the sliced mushrooms and turn the heat to medium. Saute the mushrooms for a minute cover it with a lid for a while.After some time the mushrooms will start to release moisture. and will reduce in size.The mushrooms as they get cooked have the tendency to change it's color to a darker shade of brown.
  3. When the mushrooms are almost done add in the sweet corn,pepper powder,oregano,chilly flakes and cook till the moisture released by the mushrooms evaporates completely.
  4. At the end add in some salt and some chopped coriander.Mix everything thoroughly for few seconds and take the mushroom and corn mixture off the heat.(keep the salt on the lesser side as the cheese even has salt to it)
  5. Take 2 slices of bread and apply butter on both the sides of the bread.
  6. Spread some cheese on one slice of the bread.Add some of the mushroom and corn topping and add some more cheese on top.
  7. Cover it with another slice of bread (buttered on both sides).Place the sandwich on a hot tawa and cook both sides till the cheese melts and the bread becomes crispy and golden brown.
  8. Your crispy and delicious mushroom cheese corn sandwich is ready.Cut the sandwich in half and Eat it up!:)