Showing posts with label Indian cuisine. Show all posts

Monday, April 13, 2015

Super Intant Jalebi

Everything thing that is twisted need not always be complicated.It can be sweet,too.sweet?yes,sweet!well i was talking about the twisted and complicated but utterly sweet-the delicious jalebi.Jalebi is the most famous Indian dessert which is crispy outside and juicy inside.I have always thought that making jalebi's at home takes quite a lot of effort and a bagful of patience regarding with the overnight fermentation of the jalebi batter.Patience had never been my virtue hence never tried my hands on making these delicate beauties untill i bumped onto this super simple and super instant recipe of jalebi.Thanks to Shruti.I saw her recipe a while ago and finally tried my hands on making these gorgeous saffron colored,crispy jalebi's.And i am already on cloud 9 with the results.They are delicate,crispy,juicy and tastes heavenly.Try it to believe it!


Ingredients Serves 30 jalebi's (approx)

For the batter
  • 1/2 cup of all purpose flour/maida
  • 2 tbsp of chickpea flour/besan
  • 1 tsp of cornflour
  • 8-10 tbsp of yogurt
  • 1/2-1 tbsp of water (if required)
  • 1 sachet or 1 tsp of Eno fruit salt(i used lemon flavored.Though it didn't alter the taste but i would still advice to use the unflavored ones)
For the sugar syrup

  • 1 and 1/2 cup of granulated sugar
  • 3/4th cup of water
  • Cardamom powder of 4 cardamom pods
  • 1/4th tsp of rose water or as required
  • 1 tsp of milk
  • 1 tsp of lemon juice
  • 1/4th tsp of yellow food color or as required(i used the kesar color which gives a darker shade of orange)
Method
  1. For the jalebi's it is important to make the syrup first.Take a deep,heavy pan or vessel.Add water and sugar.Put the vessel on low flame and wait till it comes to a boil.
  2. Once the sugar dissolves and the liquid comes to a boil.Add in the milk.Milk is only added when the sugar syrup appears a bit cloudy.Once you add the milk the impurities separates from the syrup and floats on the surface.Take a spoon or a ladle and gently remove the impurities.
  3. Once that done add in the cardamom powder,rose water and food color.Mix everything well.Add in the lime juice to stop the sugar syrup from getting crystallized. Once.Once the sugar syrup reaches one thread consistency switch off the gas and keep the syrup aside.(Take little bit of the sugar syrup into a bowl.Give few seconds to cool.Once cooled take it between your forefinger finger and thumb and start pulling the fingers apart gently.If the sugar syrup forms a single thread or string then your syrup is ready for dipping the jalebi's).
  4. Now for the jalebi batter take a mixing bowl and add the all purpose flour,chickpea flour,corn flour.Mix it well.(i have sifted all these to make sure there are no lumps)
  5. Add in the yogurt.Don't add all of it at once.Add 3/4th of the yogurt and mix the batter to make it lump free.Still if the batter is too thick add in the rest of the yogurt.My jalebi batter was still a bit too thick hence i added a bit of water to make a pourable batter.The consistency of the better should be neither too thick not too thin.
  6. Meanwhile,take a wide pan with least depth.Add oil for frying.
  7. Add the fruit salt to the batter at the end and mix it thoroughly.The batter becomes aerated.Rest the batter for 30 seconds.
  8. Once the resting period is over  and the oil is hot lower the flame pour the batter into a piping bag or zip lock bag or a ketchup bottle and start piping the batter onto the oil.Keep rotating the bag in circular motion to give the jalebi it's patent shape and once you are done circling bring the batter to the starting point or the center from where you started making the jalebi's.This is done just to make sure the shape of the jalebi remains intact and does not disintegrate(it was my first time in trying to make jalebi's hence few of the shapes were kind of weird as you can see).
  9. Fry till the edges turn golden brown and flip it over.Fry the other side similarly.Fry the jalebi's using either a flat laddle having multiple pores to drain out the excess oil or use two forks to flip the jalebi's and raise them out of the oil once they are fried.
  10. Once they turn golden brown take it out of the oil and immediately dunk them into the syrup.
  11. Keep it submerged into the syrup for around 20-25 seconds.Remove them out of the syrup and serve them hot.Nothing can beat the taste of a pipping hot jalebi.Hence please your taste buds with these delicious jalebi's and Eat it up! :)
Tips:-
  1. The vessel in which the sugar syrup is made should be a bit deep and shouldn't be wide.Because if the vessel is too wide the syrup has to fill more space of the container and that reduces the height of the sugar syrup into the vessel.The syrup should have atleast 1 1/2 inches of depth so that once you dunk your jalebi's in them they remain submerged and not float on top.
  2. When the jalebi's are drowned into the sugar syrup the syrup should not be cold or hot it should be warm.It is very important for the syrup to be warm.In case the sugar cools down by the time you make your jalebi's add a tbsp of water and re heat the syrup.
  3. One of the key ingredients for a crisp jalebi is the temperature of the oil.The oil should be neither too hot nor too cold.It should be that of a moderate temperature.
  4. It is important to fry the jalebi's golden brown else it'll remain raw from inside.
  5. For the jalebi's to get an uniform color it is important to dunk the jalebi's immediately once you are done frying them.If you are too conscious about removing the excess oil and then putting them into the syrup it might not get that uniform saffron color all over.
  6. With everything there are both positive and negative sides.The positive thing about this jalebi is it's super instant and needs no fermentation.But the negative thing is it stays crisp for only an hour or maximum an hour and half.Hence it would be better to finish them up fast.

Wednesday, April 8, 2015

mughlai paratha (moglai porota)

Unlike it's name this paratha does not have anything to do with the Mughal Era or it's cuisine.Now why the name Mughlai?Well,there is no sufficient explanation for this.Or maybe there is and i am still not known to it.But what i know is if this paratha time traveled to the mughal era.Then it would be sure to please all the royal taste buds.Mughlai paratha or as known in kolkata as "moglai porota" is a famous street food of Kolkata.Mughlai paratha is nothing but a stuffed and deep fried Indian flatbread.It is usually stuffed with eggs or minced meet(keema).But all the vegetarians reading this-don't be sad.You can always substitute the eggs and the meat with potatoes and cottage cheese(paneer).This paratha is served with a simple and spicy potato curry.The paratha is flaky,crispy and delicious.It is a wholesome meal in itself and can be had any time of the day.


For the potato curry
Ingredients serves-for 2-3 paratha's
  • 1 medium large and 2 medium sized potato (with skin on) cut into cubes 
  • 1/2 of 1 large onion chopped
  • 4 cloves
  • 3 cardamom pods
  • 1 cinnamon bark
  • 1/2 tsp of cumin seeds
  • 1 tsp of coriander powder
  • 1/2 tsp of cumin powder
  • 1/2 tsp of red chilly powder
  • 1/4th-1/2 tsp of turmeric powder
  • few grains of sugar
  • salt to taste
  • 3-4 tbsp of oil
Method
  1. Heat oil in a kadhai.Once hot add in the cloves,cardamom,cinnamon bark and cumin seeds.
  2. Once they release it's aroma add in the chopped onions.
  3. Once the onion starts sweating add in all the spices (red chilly powder,cumin powder,coriander powder,turmeric powder).Cook till oil separates.
  4. Toss in the potatoes.When eating any potato curry outside i have noticed that the potatoes are cooked with their skin on.I had always thought that it was shear laziness.Hence today even i thought of keeping the skin on.And as a result the curry was even more flavorsome.Thus,i would suggest to keep the skin of the potatoes intact.Don't forget to was it thoroughly.Cook for a minute.
  5. Add in the sugar.It is not compulsory but few grains of sugar enhances the taste.Add sufficient water to cook the potatoes and salt to taste.Cook till the potato gets cooked and the liquid dries out.The curry should be dry.Your finger licking potato curry is ready to compliment the Mughlai Paratha.
For making the Paratha
Ingredients serves-2 paratha's
  • 2 cups all purpose flour/maida
  • 2 tbsp of oil
  • salt to taste
  • water to knead the dough
  • 2 eggs
  • 1 cup of finely chopped onion,tomato,green chilly,coriander
  • Oil for frying
Method
  1. Take a large bowl.Add in the all purpose flour,salt and oil.Mix well.
  2. Add in water little at a time to knead it into a soft dough.Rest it for atleast 20-30 minutes.
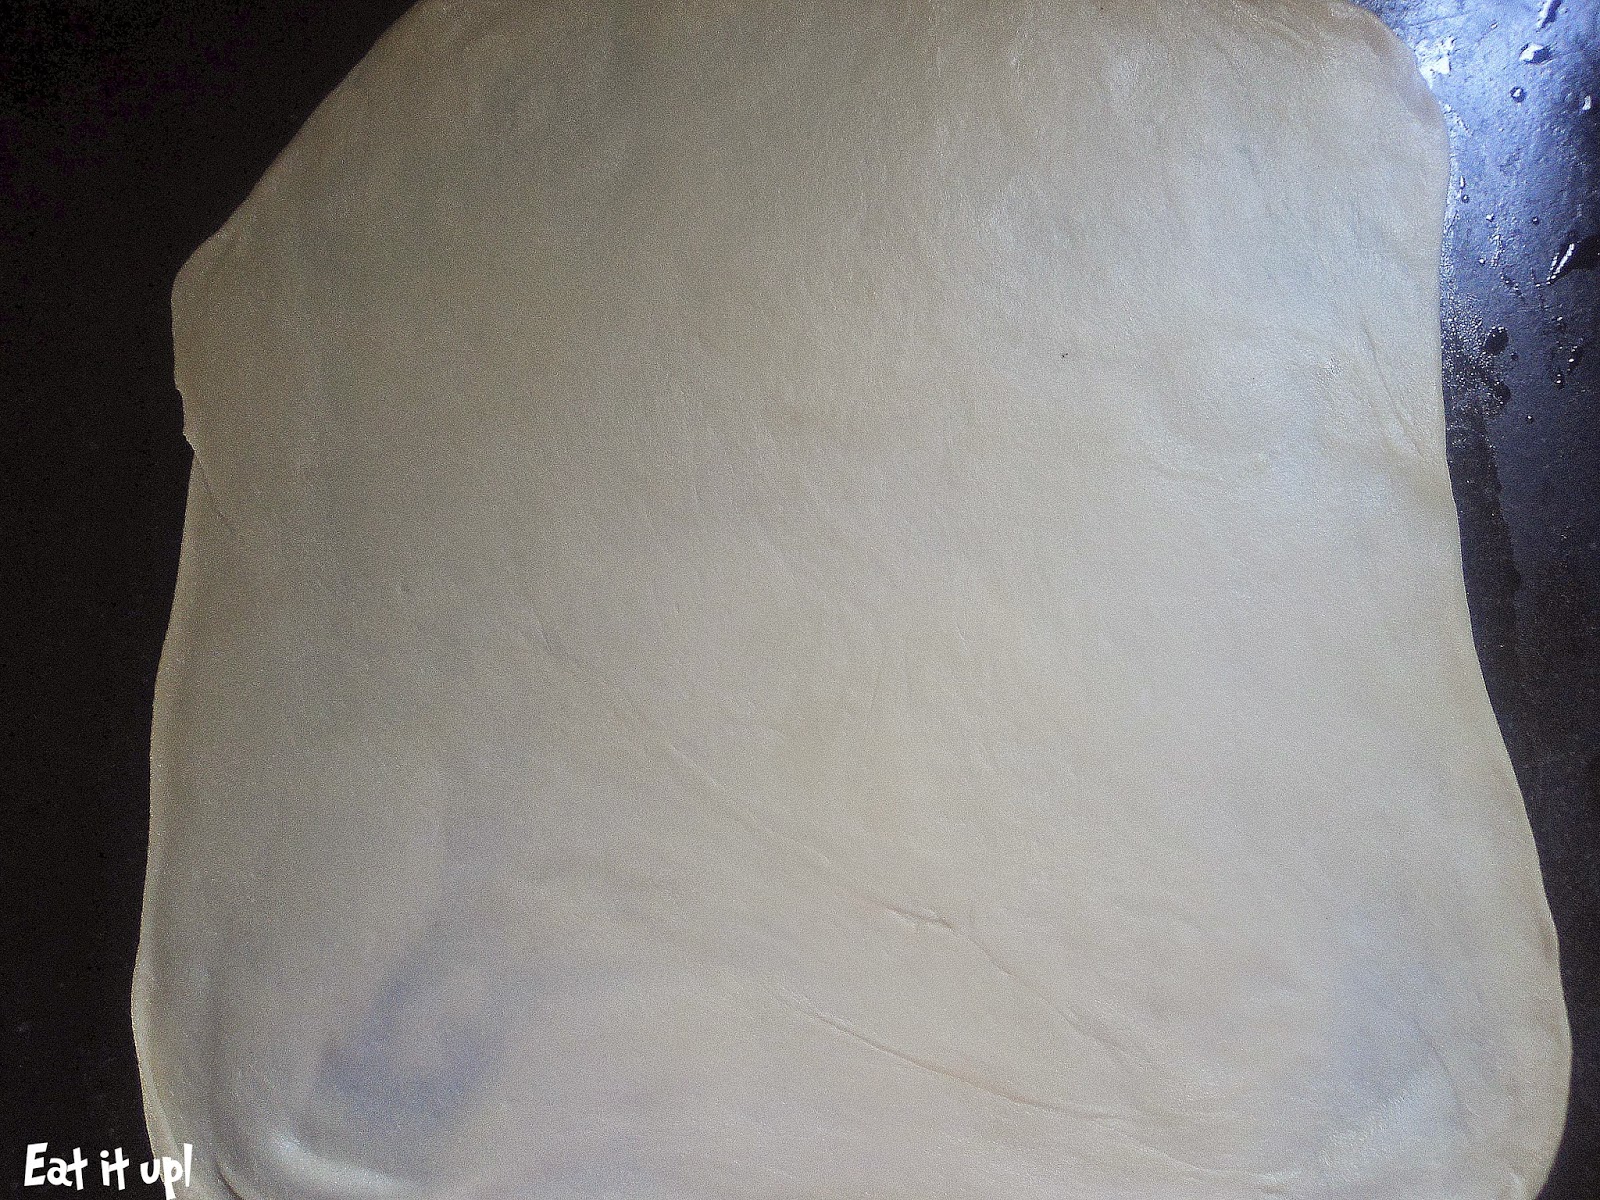
  3. After the resting period take a generous portion of the dough and roll it into a ball keeping it between you palms.Grease the countertop and the rolling pin  with a bit of oil.Roll the dough into a form of rectangle.Once you have rolled the dough half way start stretching the dough with your hands.It should be thin so that once the paratha is fried it comes out super crispy.And remember one thing that the paratha swells up when fried in hot oil.Hence rolling it thin is important.And moreover if it's not thin enough the dough might remain raw from inside.
  4. Crack a egg into a bowl.Add in handful of the chopped onions,chilies,coriander and tomato.Add salt to taste.whisk it properly.
  5. Meanwhile,heat sufficient oil in a pan.
  6. Spread the egg mixture In the center of the rolled dough.Fold the rolled dough into a form of an envelope covering the egg mixture.Make sure the mixture does not overflow out of the envelope.
  7. Once the oil is hot drop the paratha carefully.Cook till golden brown.
  8. Your mughlai paratha is ready.Serve it with the potato curry and pickled salad.Pluck a portion of the hot paratha,mix it with some  curry and Eat it up! :)


Saturday, March 28, 2015

golgappa/puchka/pani-puri

These little crispy balls filled with delicious spicy stuffing and tangy water is one of my favorite things in the world.I could even kill for one of these.I love the bombardment of various flavors from tangy to sweet bursting into your mouth with a single bite.It has various names In India and various recipes to make them,too.In kolkata we call it puchka.Ask any Bengali about his/her love for puchka and you'll know how faithful we are towards our beloved puchka.A while ago i had tried my hands on making these lovely puri's.The results were umm,let's just say satisfactory.Yesterday i tried making them again.And it was a complete disaster.Only 4 of them puffed up.Now neither do i like leaving things mid way nor did i want those soggy puri's to haunt me forever.Hence it was 11 p.m,5 attempts and 3 different recipes with no such success.It was the 6th and the final attempt today that the puri's turned out crispy and delicious.The recipe that worked for me was adapted from "cooking shooking".Thanks a ton to Yaman agarwal for such an easy and simple recipe.

But before i share the recipe i would like to discuss certain points about the three recipes that i followed(i am not saying that these recipes do not work.All i am saying is it did not work for me).


Recipe -1
i used 1 cup of fine rawa/sooji,3 tbsp of all purpose flour,salt,1/4th tsp of baking soda,water as required and oil for frying.
The prime difficulty that i faced was while kneading the dough.Now here as semolina was the main ingredient with very less flour (which is basically used as a binding agent) hence kneading it(to release it's gluten) into a smooth dough and for a considerably long time was needed.One main thing that should be kept in mind that while rolling the dough there should be no visible cracks on the surface.Mine had a lot of cracks.Also when i fried the puri's it was crisp but not as crisp as we find them in the market.Moreover the skin of the puri's were not translucent and thin which usually gives that cracking sound once you break the puri.Moreover the surface was smooth.A perfect puri should have blisters on it's surface.

Recipe-2
Keeping all the ingredients same i discarded the use of all purpose flour and used only semolina instead.Again i had troubles making the dough.I used a bit of oil to smooth out the surface after kneading.There were cracks again when i rolled the dough.But when i fried them the puris were not translucent and it was paler in colour.I tried the same recipe using little less water and baking powder instead of baking soda.But it didn't make much of a difference.

Recipe-3 (the final one)

Now before mentioning what ingredients i used let me tell you when i tried this recipe at first it was not a success (my fifth attempt).My Each and every puri did puff up but as it cooled it became soggy.I understood the reason once i tried the last and the final attempt-The 6th one.

Ingredients serves-30 bite size puri's

  • 1/4th cup of fine rava/semolina
  • 1/4th cup of all purpose flour
  • 1/4th tsp of salt
  • Pinch of baking soda
  • A bit less than 1/4th cup of water
  • oil for frying


Method
  1. Mix rava,flour,salt,baking soda together.I always prefer sifting it.But it's not mandatory.Add water little at a time.Form a smooth dough.Using equal quantities of semolina and flour helps in forming the dough a lot faster and easier.The dough will be semi stiff and not completely soft.
  2. Once the dough is formed wrap the dough in a damp kitchen towel for around 30 minutes.
  3. After 30 minutes is over heat up oil for deep frying.
  4. Meanwhile divide the dough into two portions roughly.Dust the counter or the place where you are going to roll the dough with a little bit of flour and take a portion of it and start rolling it on the counter.
  5. Roll the dough as thinly as possible.There should be no cracks.It should be translucent.By that i mean once you are finished rolling you can see the slight glimpse of the counter top from your rolled dough.Or when you hold the rolled dough in front of sunlight you can see the light passing through.Not smoothly but to a certain extent.
  6. Cut them into circular shapes with the help of a cookies cutter or anything round and sharp.
  7. Once the oil is fairly hot bring the flame to medium and drop the puri's.They should puff up immediately.Move the puri's around in the oil so that they get equal color from all the sides.Rotate them once in a while.
  8. Once they turn golden brown from all the sides your puri's are ready.Stuff some delicious filling inside it of your choice.serve it with spicy water and Eat it up! :)
Tips:-
  1. The semolina should be of a fine variety.This is very important for a fully puffed up and crisp puri.
  2. The oil plays a very vital role in the crispness of the puri's.The oil should be considerably hot.If the oil is not hot enough your puri's will puff up but once cooled they'll be soggy.To test the oil is hot enough or not once you feel your oil is hot enough drop a tiny piece of the dough into the oil.If it floats into the oil instantly you'll know your oil is ready.
  3. Now covering the dough with a damp cloth is necessary.If the cloth is too wet the dough will soak up a lot more water/moisture than what is needed and won't puff up and if the cloth is dry then the dough will get dry and crack might appear.Again resulting into a soggy puri.
  4. Rolling the dough thin is another important factor for a puffed up and crispy puri.
  5. While dusting the counter with flour be extra careful not to add a lot of flour to roll the dough.Else the dough might become dry.
  6. You can keep these puri's outside for quite a long time.Like an entire day almost.It won't become soggy.For longer use store them in an air-tight container.
  7. Only a pinch of baking soda is needed.If baking soda is not added the puri's should still puff up.This is added only to be extra safe and sure.